
LEGOS

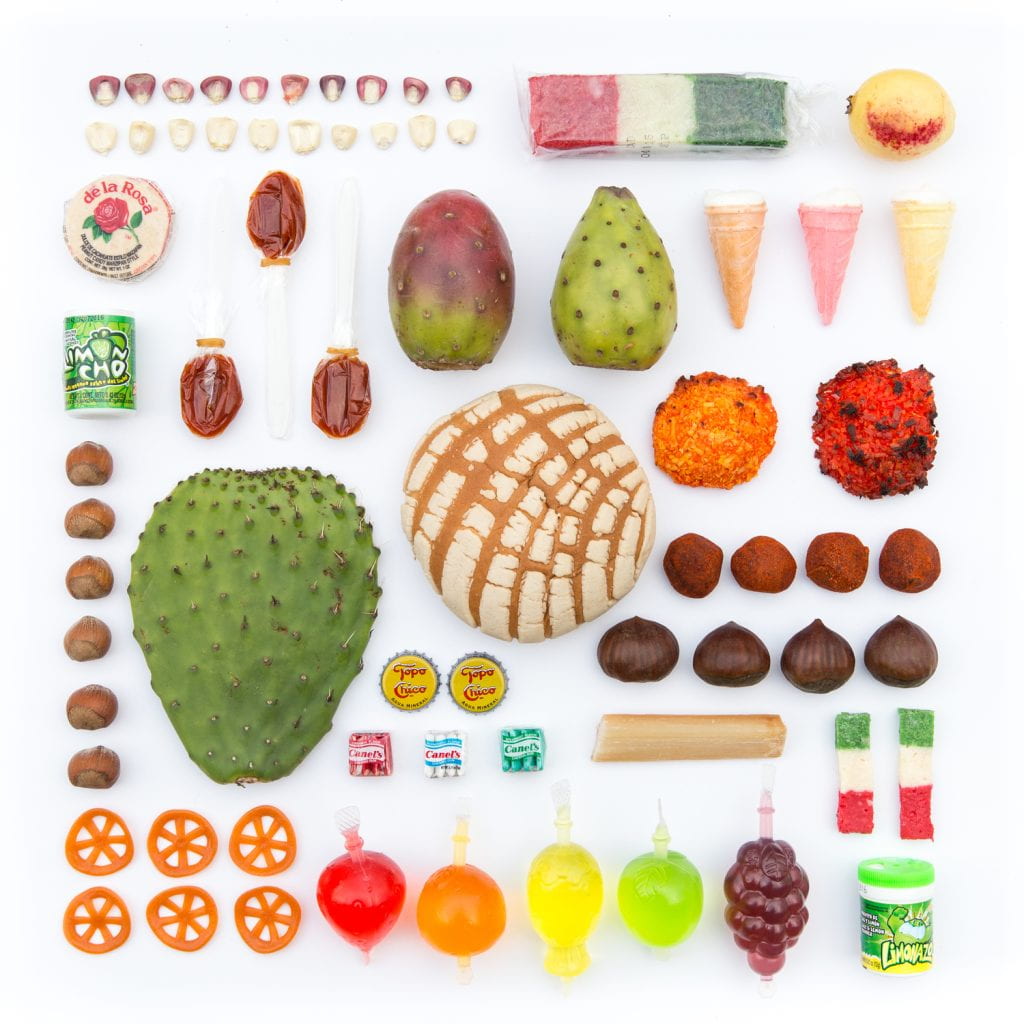
I like this meticulous photo because it shows different snacks, and the different sizes but it’s not organized but it seems organized. The different snacks are all apart of one culture which is so cool, and she makes it look organized.
Welcome to Digital Photography! This class was one of the most creative and fun experiences I had during the year. I really enjoyed getting to use the camera and explore different styles like portrait, landscape, and black-and-white photography. One of my favorite projects was the one where we got to edit photos in Photoshop—it was cool to see how much a picture could change with just a few tools. The class gave me a chance to be artistic in a way that other classes didn’t.
That being said, there were definitely some challenges too. Some projects had tight deadlines, and if you didn’t stay organized, it could be stressful. Also, learning all the camera settings and editing software took time and patience. It’s easy to get frustrated if things don’t look how you imagined, but that’s part of the learning process. The workload wasn’t too heavy, but it’s important to manage your time, especially if you’re doing a photo shoot outside of school.
If I could give you one piece of advice, it’s to stay curious and experiment. Don’t be afraid to try different ideas sometimes they turn out to be your best work. Ask questions when you’re stuck and help each other out. Take your time to really look at the world differently through the lens. You’ll be surprised at what you notice when you slow down and look closely. Have fun, and good luck! Mrs. Cauchon is the best teacher!!
Sincerely,
[Kelsey Anota😊]
White balance refers to the process of removing or neutralizing color casts in your images – because at its core, white balance is about ensuring the colors in your photograph appear as they do in real life. Most editors offer a similar process, which involves using the white balance eyedropper to identify a neutral tone and fine-tuning via the Temperature and Tint sliders. White balance ensures that the colors in your images are accurate and natural. Incorrect white balance can lead to color casts, detracting from the image’s overall quality and authenticity. White balance compensates for the color casts produced by either color temperature or color tint shifts.


HDR stands for High Dynamic Range, a technique for capturing a wider range of light and dark in a photograph. HDR images are more like what the human eye sees.

-2, -1,0,1,2 exposure.

Although I did only have last year for IM2 he was my favorite teacher because he taught the subject well, so I understood well. I still talk to him sometimes and he is really funny. I would’ve loved to have him as a teacher again. He made math fun and easy.